How to Reset the Msi Afterburner to Its Default Settings
This guide will let you know how to reset the MSI afterburner to its default settings. You just have to follow the simple steps below to reset it.
First of all, you will need to open the MSI afterburner at the bottom. The first thing that you can do if you do change some of the values within MSI afterburner, then you just need to click on the Reset button and it will reset everything back to its default.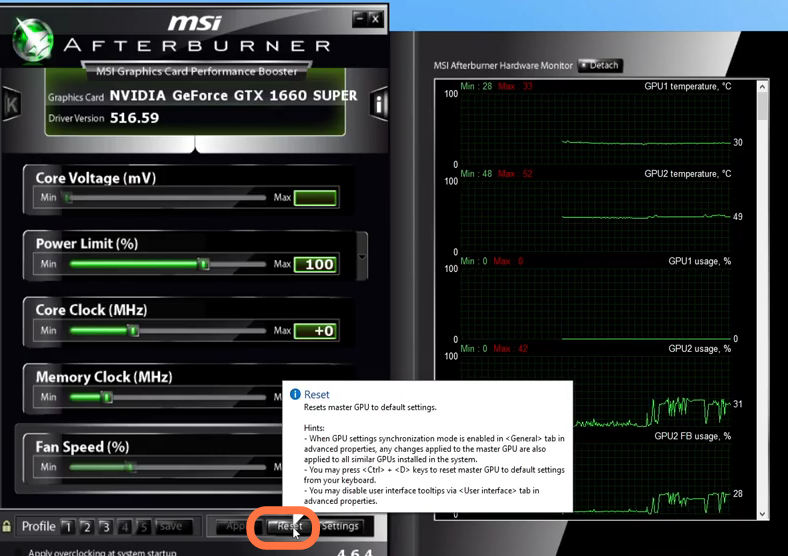
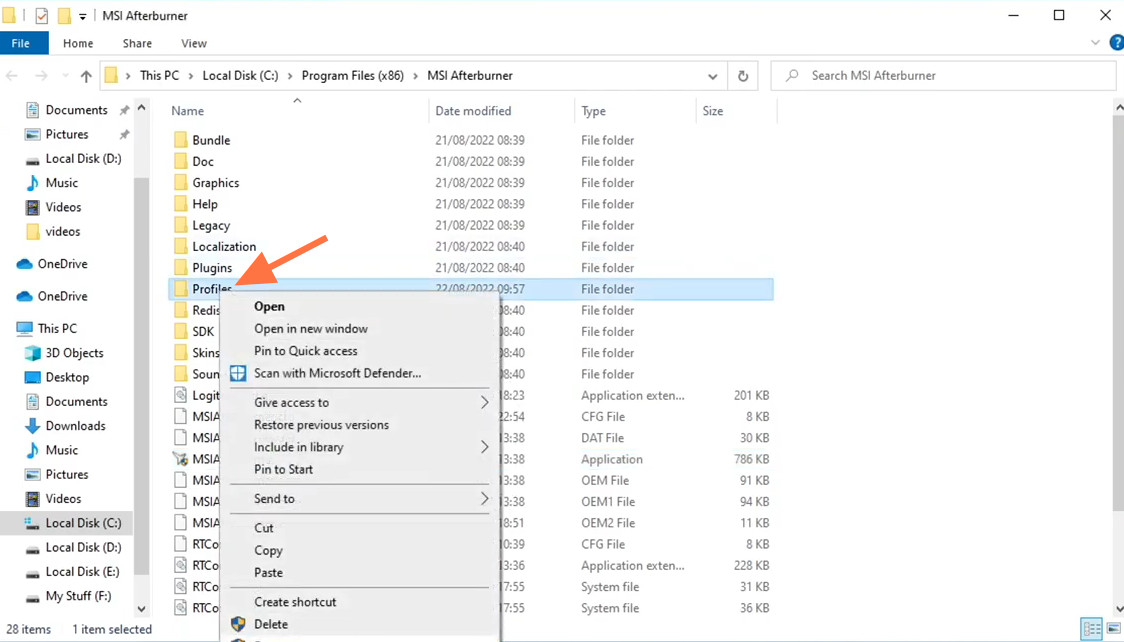
To completely reset the MSI afterburner back to its original default, you have to go to the MSI afterburner file location on your computer. To do this, you need to find the shortcut for MSI afterburner, it's either going to be in your Start menu or on your desktop. Once you've found the shortcut, go to the open file location, you do also need to close down the MSI afterburner while you do this. Once you're in the location where you installed MSI afterburner, you need to right-click on the profiles folder and rename it. Add "bk" at the end of the name and then press enter.

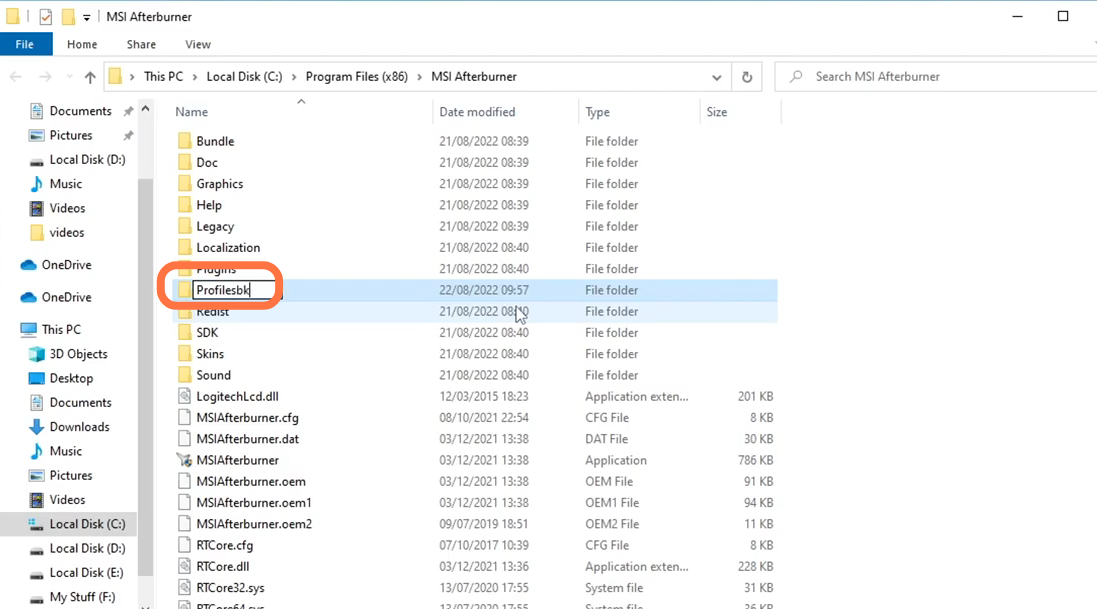
After that, open up MSI afterburner you can now see that has completely changed the skin back to its default, and also the profiles are no longer on MSI afterburner as they have been removed. All the other settings that you have changed in MSI afterburner are also reset to default.
