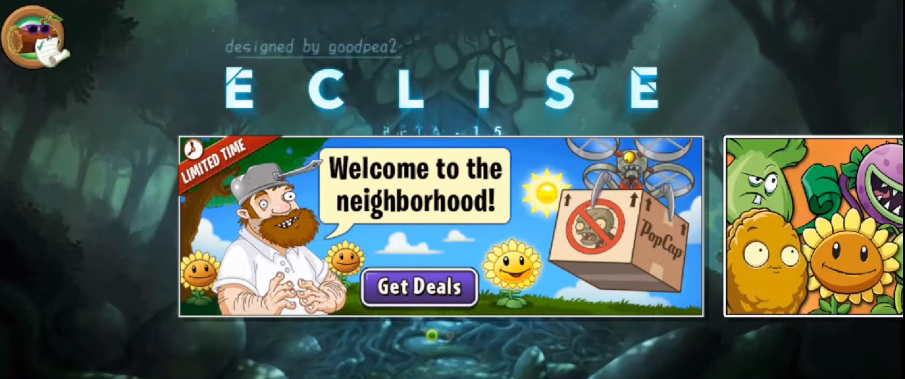
A Guide For Project Eclise - PvZ2: Project Eclisev
In this guide, you will learn how to install Project Eclipse on Android. Make sure you follow all the steps correctly, otherwise the game may not load or run properly.
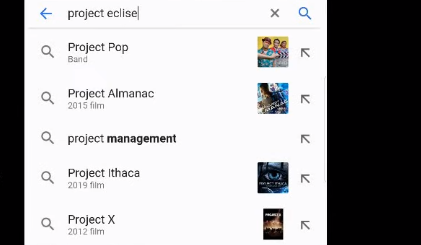
Step 1: Go to Google and search for “Project Eclipse PvZ2”.
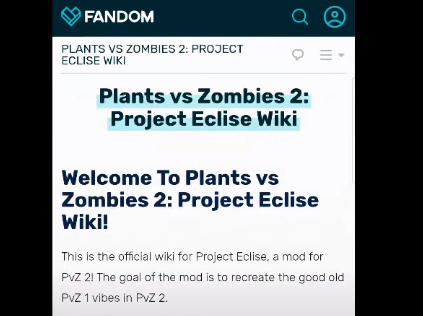
Step 2: Open the Wiki Fandom page to find the download link.
Step 3: Download the file named “main.337”.
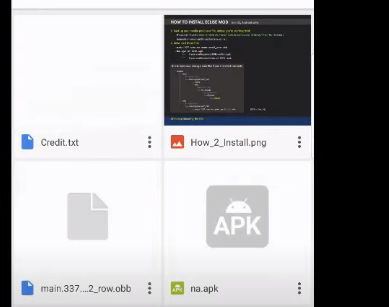
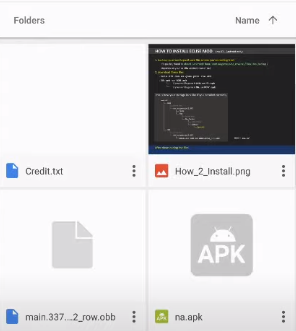
Step 4: After that, go back to the main menu to download the APK file.
Step 5: Select the APK file based on your region.
For the US version, choose row.apk. For non-US versions, choose na.apk.
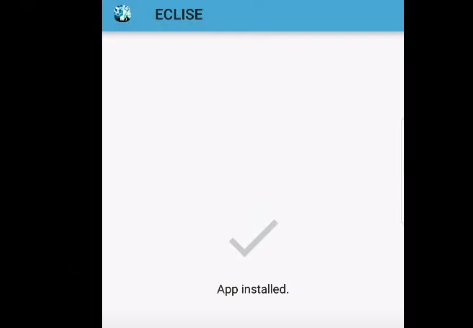
Step 6: Install the APK and run the game. The game may not load properly after installation, so you will need to fix this issue in the next step.
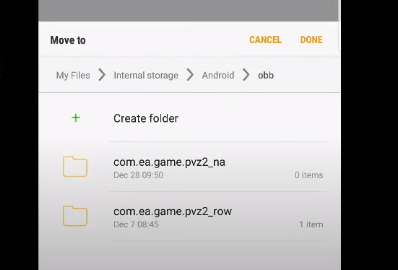
Step 7: Open your file manager and move the downloaded file to a new location.
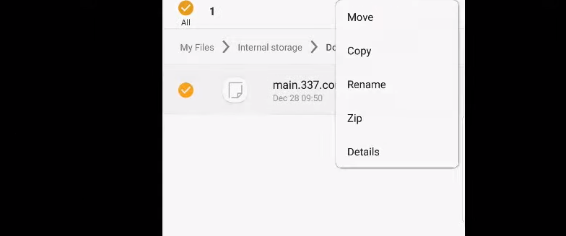
Step 8: Choose the folder that matches the APK you installed.
Step 9: Rename the file based on the APK you installed.
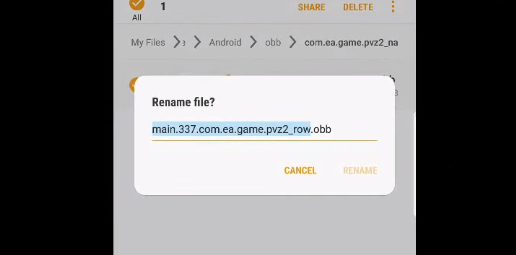
If you installed row.apk, you do not need to rename the file. Re-run the game and watch the preview.

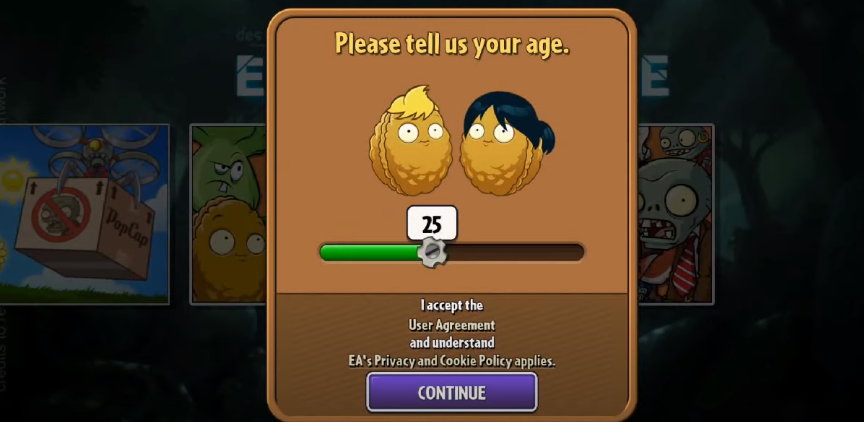
Choose any age you want. The game is not intended for kids, so select a higher age.
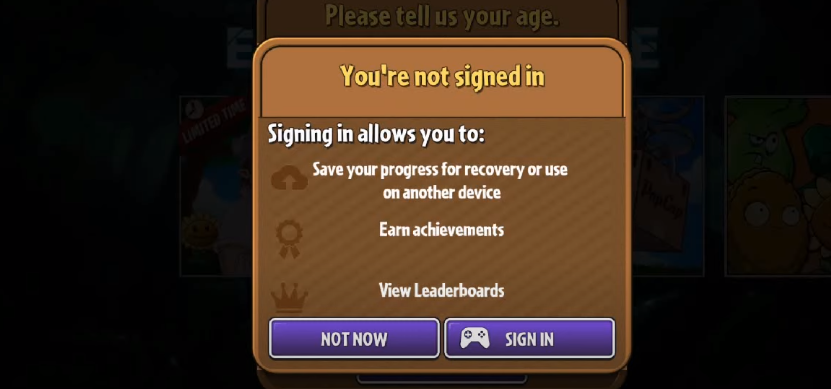
Do not sign in, as this is a modded game.
The game may crash again when you press “Skip”. This is the final step to fix that issue.
Step 10: Go to the following folder and delete all the files inside it.
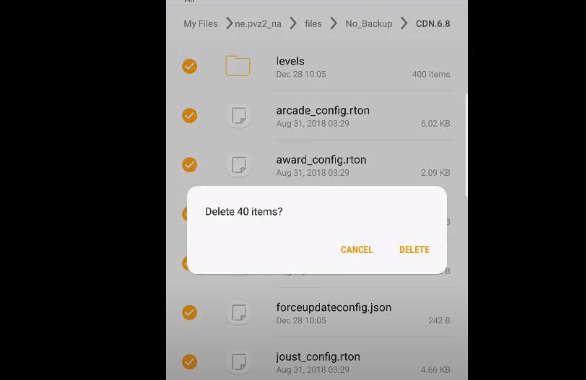
Select pvz2_row if you installed row.apk. After deleting the files, the game should run properly.
Now, launch the game again.
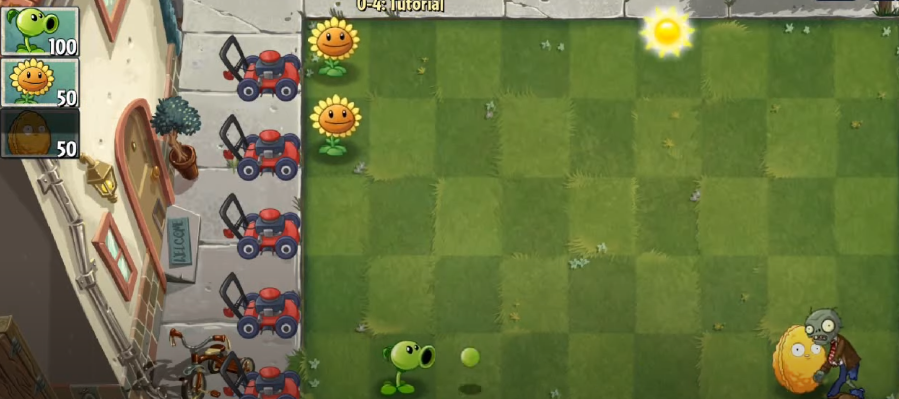
You will now see game details such as worlds and the buying system. Tap the turbo button to activate it, and tap it again to turn it off.